
How it works
Four steps from first conversation to a workspace your team uses every day. Most businesses are running within a few working days of the kick-off call.
The four steps in detail
Each step has a clear owner on both sides, so nothing waits on an unanswered email.
Step 1 — Register your business
We confirm the companies involved, the payment accounts you want to connect and the commercials. You get a written scope before anything is built.
Step 2 — Connect your payment accounts
Your team authorises each connection with your provider. Where an API is available we connect directly; where it is not, we agree a file-based alternative.
Step 3 — Configure your dashboard
You choose reports, alert thresholds and statuses that match how you work, and decide which team members see which accounts.
Step 4 — Run your operations
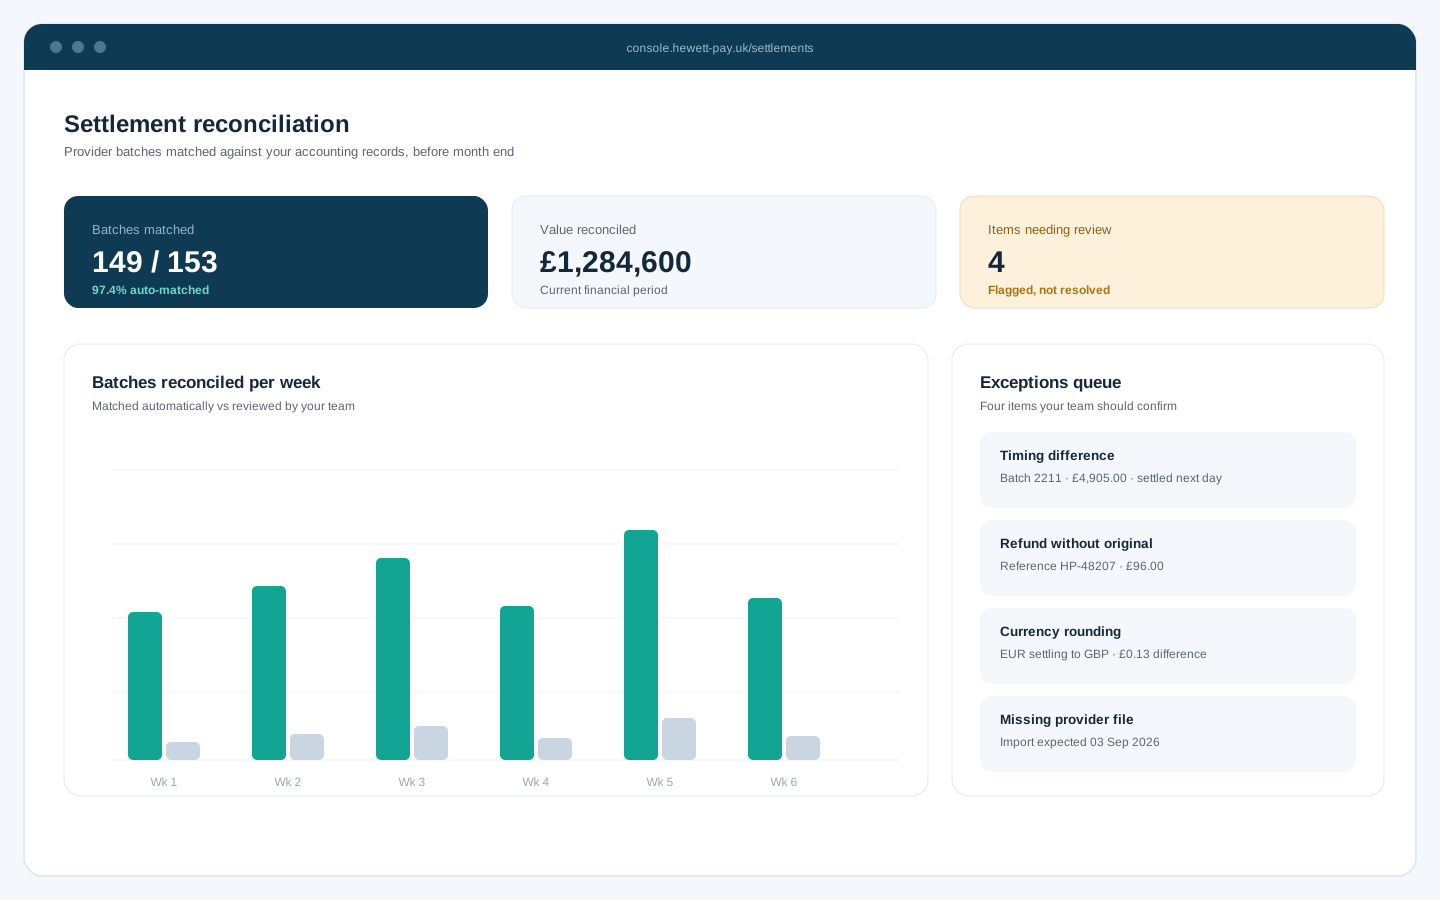
Monitor transactions, manage orders and refunds, and produce period reports from one workspace, every day.
What we need from you
Onboarding moves quickly when three things are ready: someone who can authorise the payment account connections, a short description of how payments currently reach your records, and a named person for technical questions if an integration is involved.
- Authorised contact for each payment account
- A description of your current payment flow
- A technical contact if an integration is required
What happens after go-live
Once connected, the platform is largely self-service. Our team remains available for configuration changes, new account connections and questions about your reports. Support is provided by our UK-based team.
- Named contact during onboarding
- Support for additional connections later
- Documentation for your development team
- Periodic review of reporting needs
Start with a walkthrough
We will talk through your current payment setup and what onboarding would involve.